jekyll 문서를 PDF로 배포하기
깔끔하고 아름다운 PDF를 위하여
천보성 팀장
2018-09-07
편집자 주
PDF는 ‘Portable Document Format’의 준말이므로 원칙상 대문자로 기재하는 것이 맞지만, 파일명은 대개 소문자로 기재한다. 이것을 따라 본 글에서는 대문자(PDF)와 소문자(pdf)를 같이 사용했다.
Overview
jekyll은 API문서를 제작하는데에 굉장히 좋은 도구입니다. 깔끔하고, 코드 syntax highlight가 지원되기 때문에 개발 문서를 편리하게 쓸 수 있죠. 하지만 문서를 github에 배포하지 않고 오프라인으로 배포하는 방법은 딱히 없습니다. 분명 사용할 일이 많을텐데 말이죠.
물론 PDF로 배포하는 jekyll 플러그인은 많지만 좋은 건 없었습니다. 대부분 추가 프로그램을 이용하라고 가이드했고, PDF의 퀄리티도 별로였죠. 그래서 jekyll로 된 문서를 PDF로 배포할 수 있는 방법을 직접 찾아봤습니다.
가장 쉬운 방법
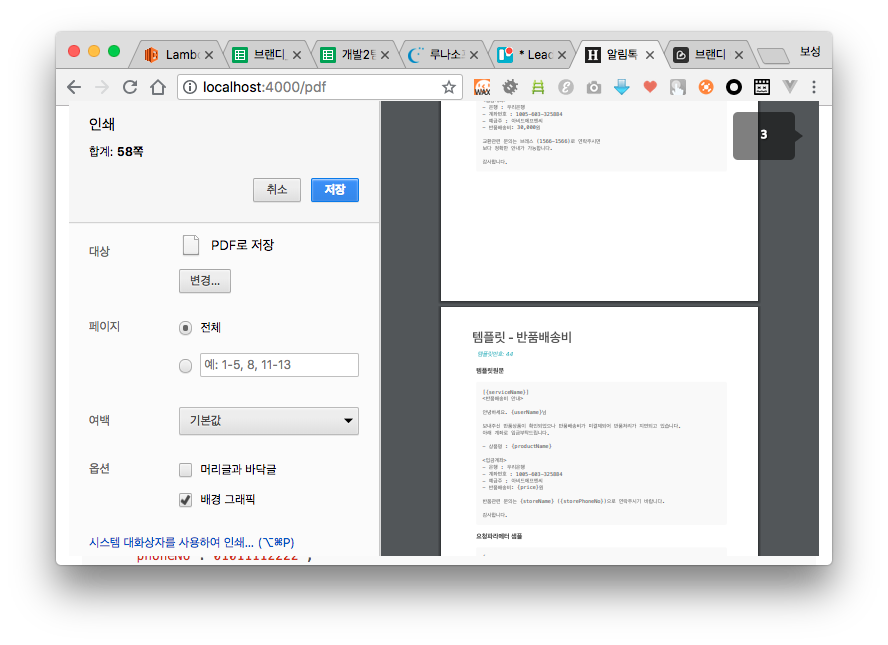
인쇄 기능을 사용하면 웹페이지를 PDF로 만들 수 있습니다. 크롬을 포함한 여러 브라우저도 이것을 선택할 수 있습니다.
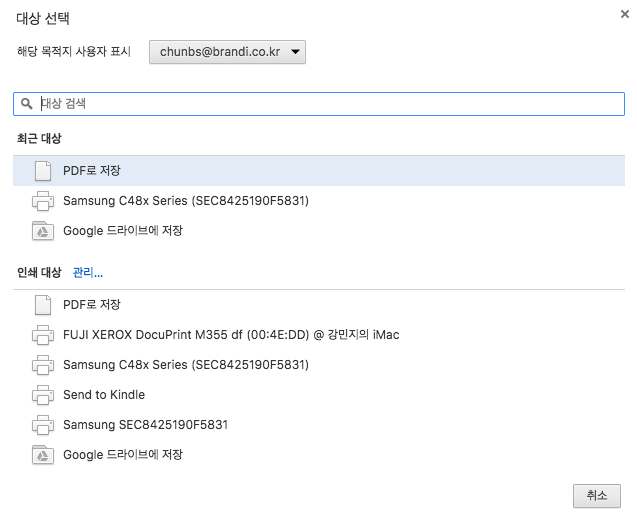
이 기능을 활용하면 PDF 변환 프로그램이 없어도 쉽게 작성할 수 있습니다.
PDF 문서 사전 작업
jekyll 문서를 PDF로 변환하려면 모든 post가 하나의 HTML 페이지로 나와야 합니다. 그래야만 출력을 클릭했을 때 하나의 페이지로 만들어지기 때문입니다.
우선 모든 페이지 내용을 출력하는 페이지가 필요했습니다. 최상위 경로에 pdf.html을 만들었죠.
./pdf.html
---
layout: pdf
title: pdf document
---
내용은 필요 없습니다. layout이 무엇인지만 정의하세요. layout은 pdf로 정의했습니다. 내용은 http://localhost:4000/pdf 에 접속하면 볼 수 있습니다.
이제 PDF 레이아웃을 구성해봅시다. _layouts 폴더에 pdf.html을 만듭니다. 그리고 모든 페이지를 출력할 수 있게 해야 합니다.
jekyll을 이용한 Github 블로그 만들기 포스팅에서도 말했지만 site.posts 에는 모든 글이 있습니다. posts를 foreach하면 다 출력할 수 있죠. post 객체안에 content를 출력하면 글 내용도 출력할 수 있습니다.
./_layouts/pdf.html
 {% for post in site.posts %}
        {% for post in site.posts %}
        <main class="container">
            <div class="content">
                <article class="post-body">
                    <h1>{{ post.title }}</h1>
                    {{ post.content }}
                </article>
            </div>
        </main>
        {% endfor %}
{% endfor %}
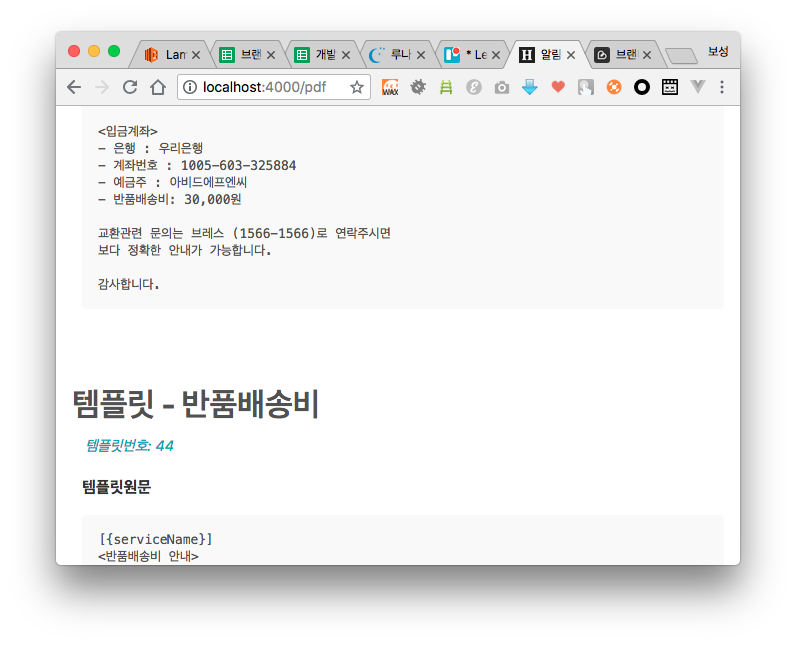
이제 모든 페이지가 잘 출력됩니다.
페이지마다 구분 짓기
출력이 돼도 모든 페이지가 구분없이 다닥다닥 붙어 있을 겁니다. post 사이의 구분이 없어 보기 어렵겠죠.
문서에 구분을 주려면 css를 사용하면 됩니다.
body.pdf main {page-break-before:always; page-break-after:always;}
제가 사용하는 템플릿은 main이 post 단위로 파악되어서 main 태그가 출력의 구분으로 사용되게 했습니다.
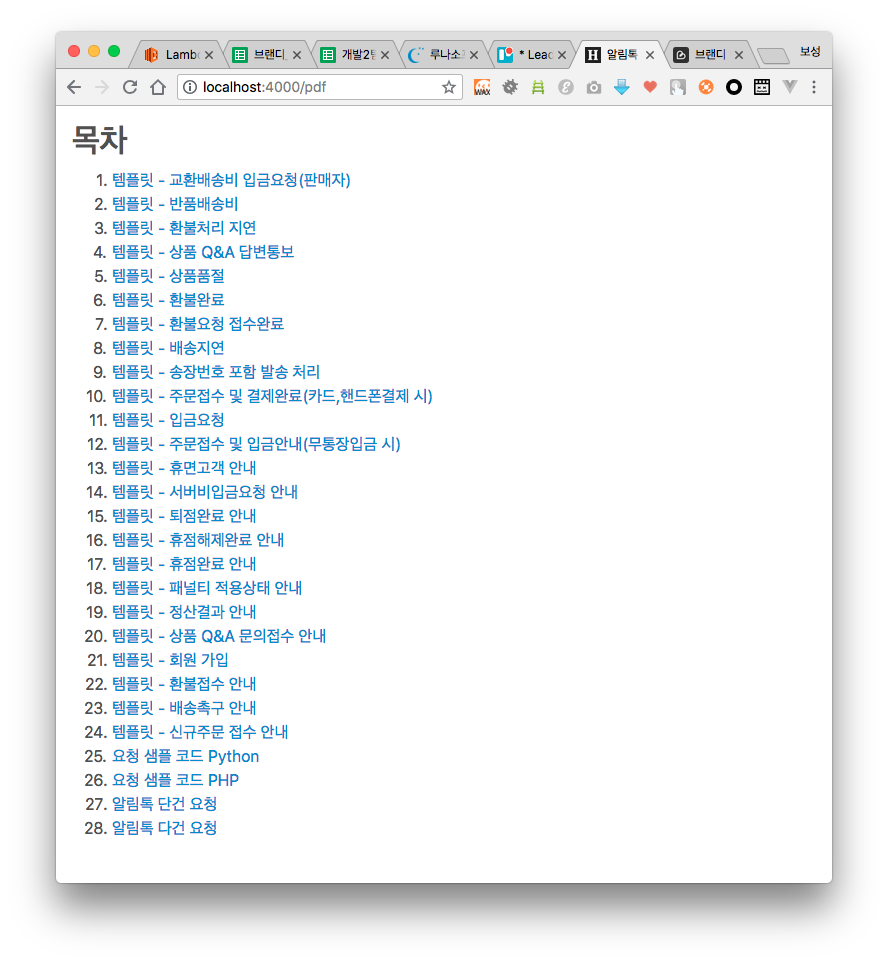
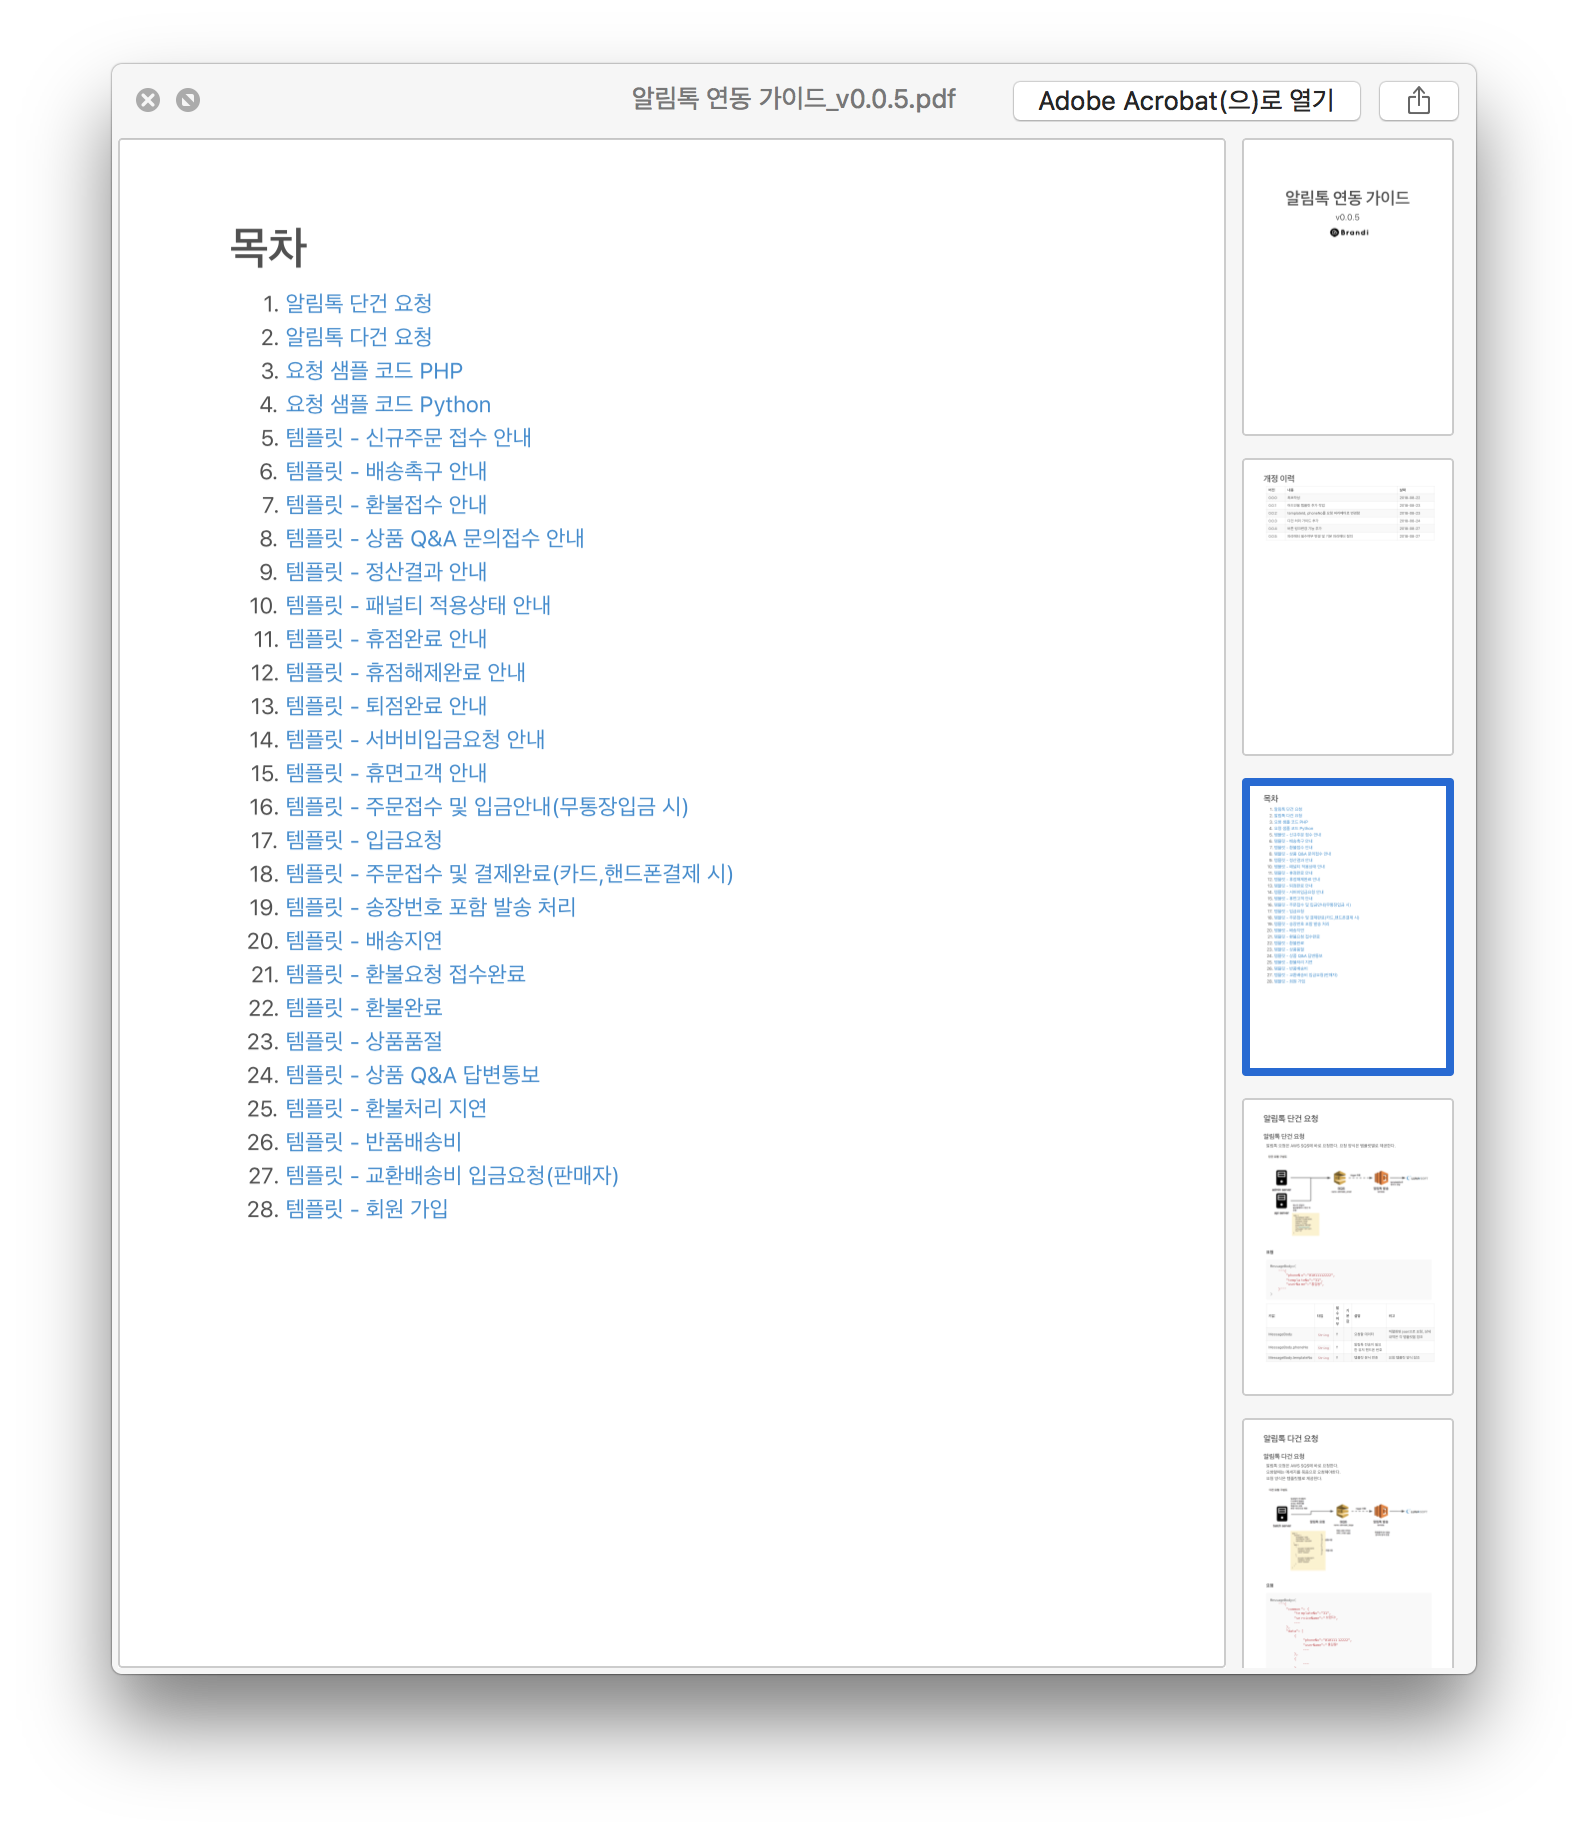
목차 추가하기
목차가 있으면 더 좋겠다는 생각을 헀습니다. 목차를 만들어보죠.
<main class="container">
    <div class="content">
        <article class="post-body">
            <h1>목차</h1>

            <ol>
            {% for post in site.posts %}
               <li><a href="#_page_{{forloop.index}}">{{ post.title }}</a></li>
            {% endfor %}
            </ol>
        </article>
    </div>
</main>
모든 post글을 foreach 돌면서 제목과 링크를 걸었습니다. 링크는 글 # 링크를 사용하여서 연결했습니다. 글 내용에도 a 태그를 숨겨두었습니다. 이제 목차를 클릭하면 대상글 제목으로 이동할 수 있을 겁니다.
{% for post in site.posts %}
<main class="container">
    <div class="content">
        <article class="post-body">
            <h1><a name="_page_{{forloop.index}}"></a>{{ post.title }}</h1>
            {{ post.content }}
        </article>
    </div>
</main>
{% endfor %}
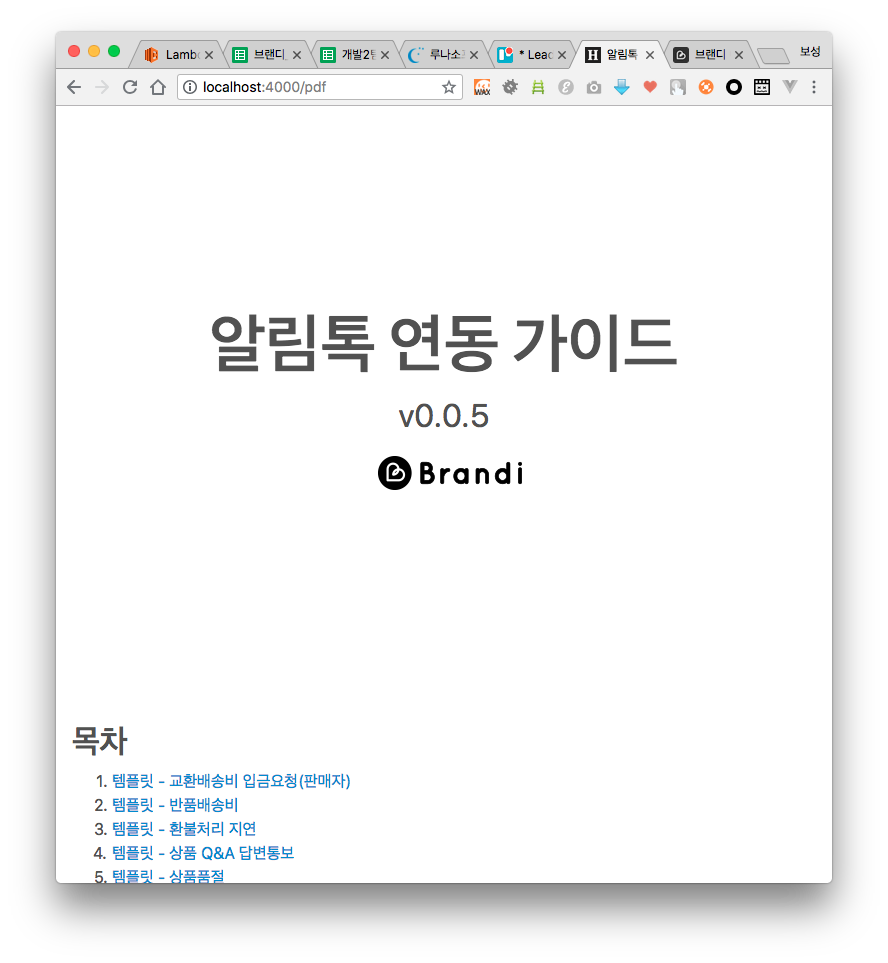
표지 추가하기
목차가 있다면 빠질 수 없는 게 바로 표지와 개정이력입니다.
<main class="container">
    <div class="content">
        <article class="post-body title-page">
            <h1>{{site.title}}</h1>
            <span class="site-version">v{{ site.version }}</span>
            <p>
                {{ site.description }}
            </p>
            <p>
                <img src="logo.png" />
            </p>
        </article>
    </div>
</main>
표지는 위처럼 간단하게 구성했습니다. 바꿀 일이 거의 없기 때문에 _layouts/pdf.html 안에 넣었습니다. 나중에는 버전만 변경하면 될 것 같아 버전정보와 문서에 필요한 내용을 챙겨 넣었습니다.
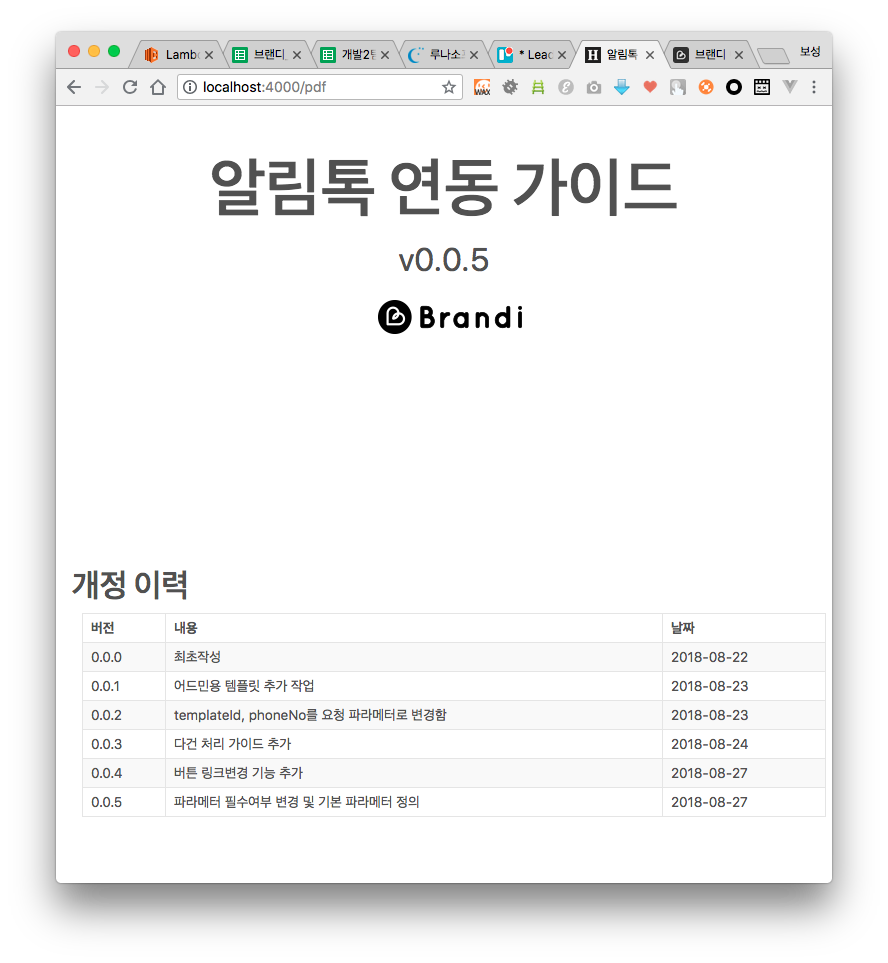
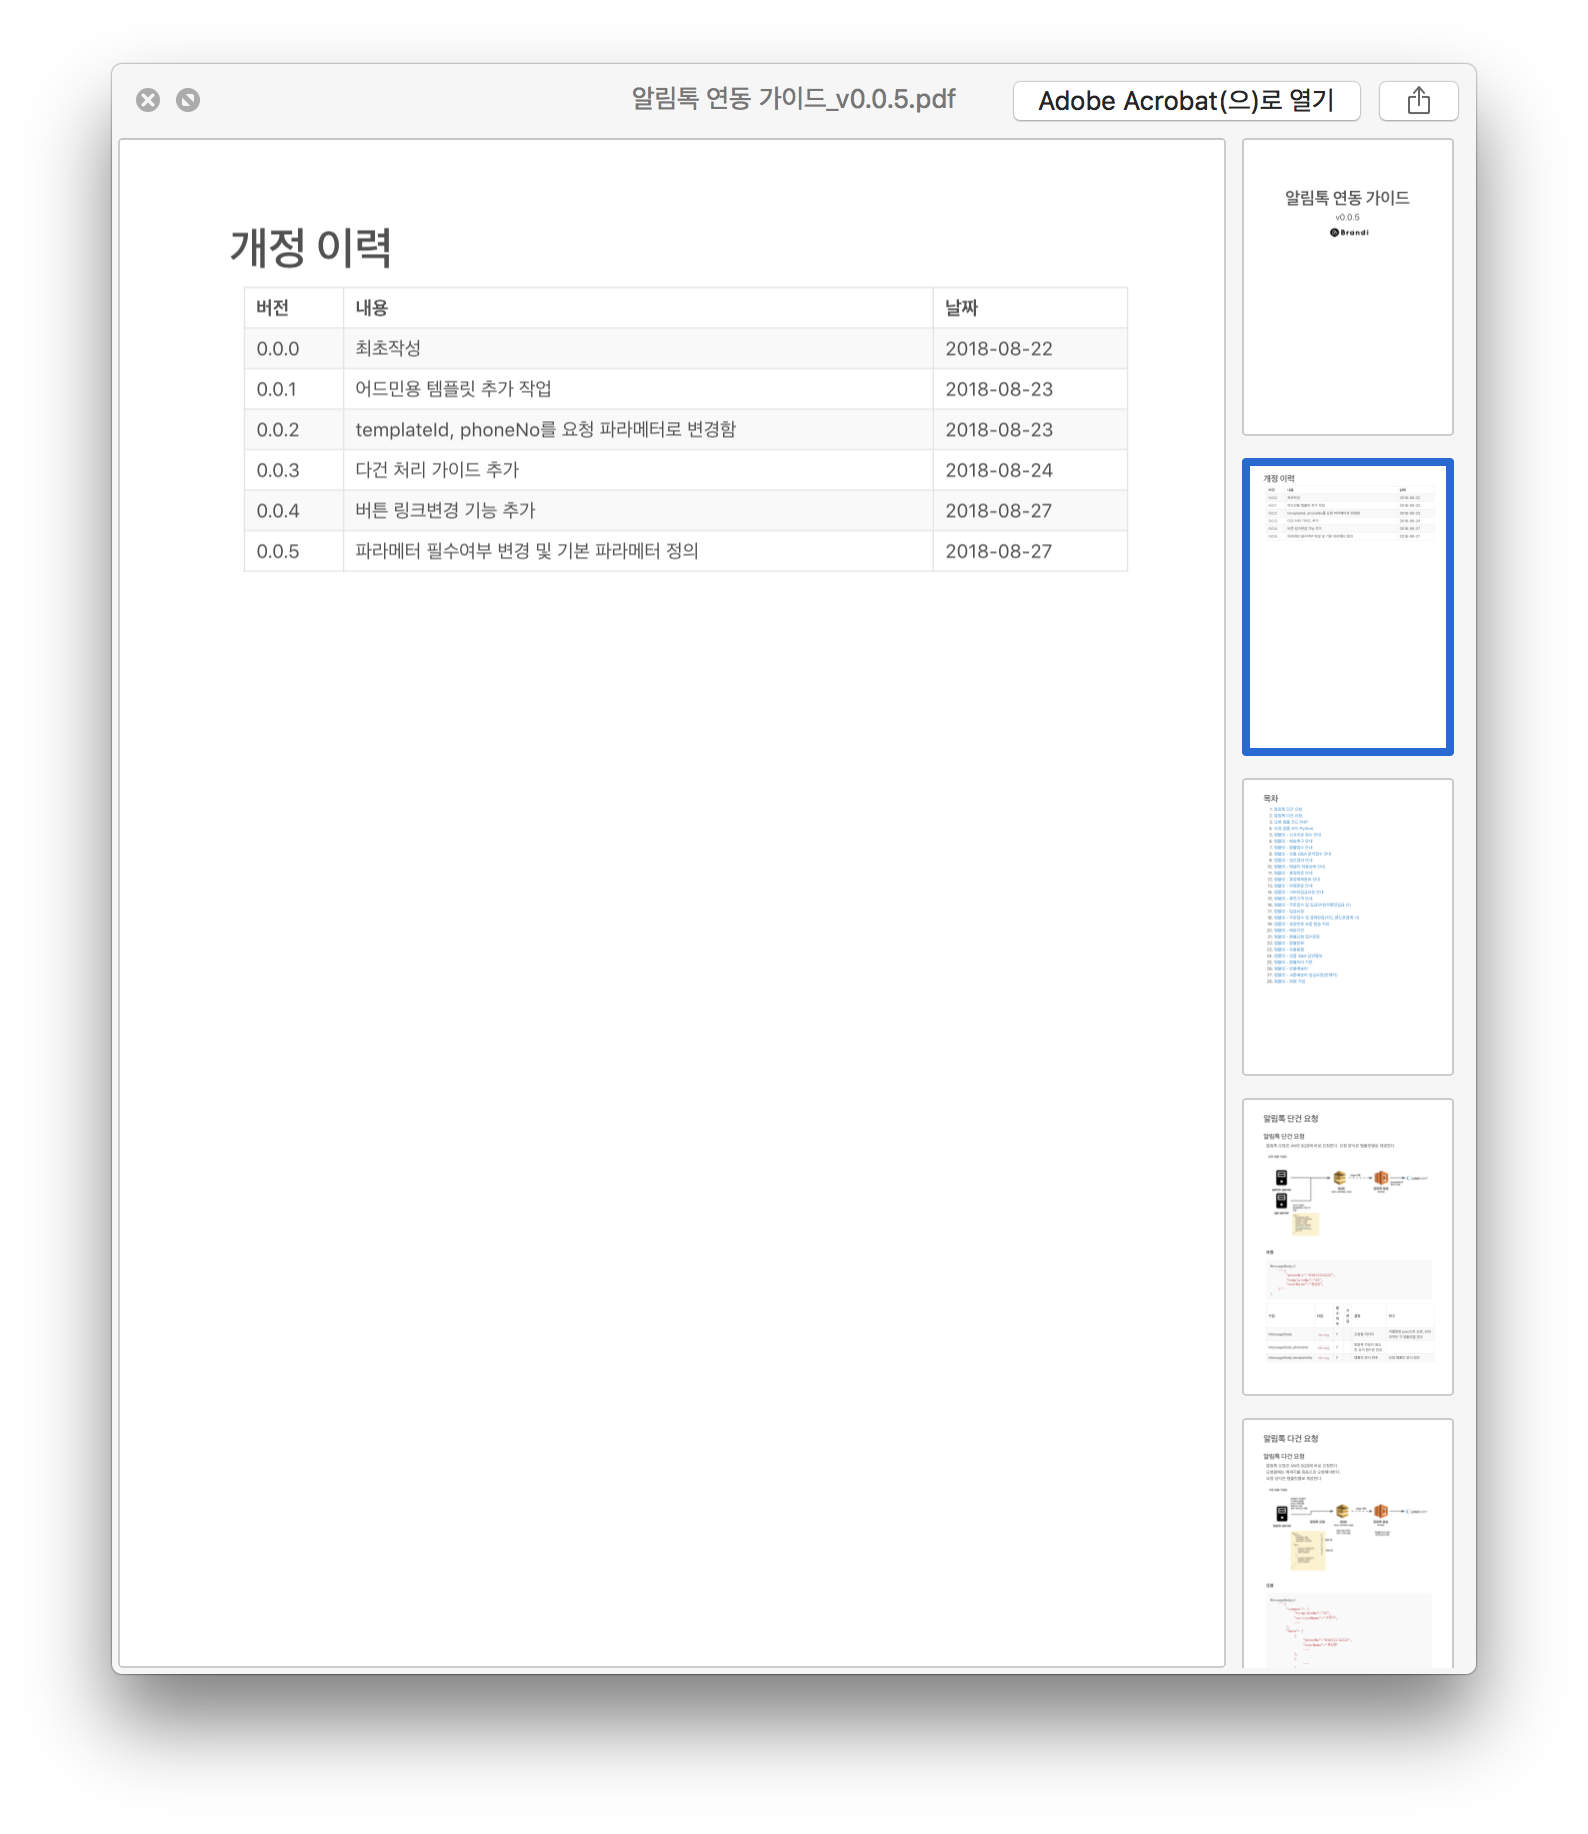
개정이력은 자주 변경되기 때문에 따로 만들어서 연결하기로 했습니다.
{% include history.html %}
include를 사용했기 때문에 _includes 밑에 history.html을 만들면 됩니다.
./includes/history.html
<main class="container">
    <div class="content">
        <article class="post-body">
            <h1>개정 이력</h1>

            <table>
                <thead>
                    <tr>
                        <th>버전</th>
                        <th>내용</th>
                        <th>날짜</th>
                    </tr>
                </thead>
                <tbody>
                    <tr>
                        <td>0.0.0</td>
                        <td>최초작성</td>
                        <td>2018-08-22</td>
                    </tr>
                </tbody>
            </table>
        </article>
    </div>
</main>
순서와 PDF로 보낼 문서 정의하기
마지막입니다. 문서 순서, PDF에 담을 페이지 또는 담지 않을 페이지를 구분해보겠습니다. 이전 글을 읽었다면 알겠지만 range foreach 방식을 이용하면 됩니다.
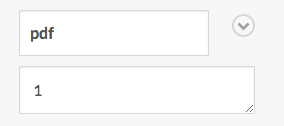
meta data에 PDF 항목을 추가하고 정렬 순서를 넣었습니다. 완성된 pdf.html 파일이다.
<!DOCTYPE html>
<html lang="en-us">
    <head>
      <link href="http://gmpg.org/xfn/11" rel="profile" />
      <meta http-equiv="X-UA-Compatible" content="IE=edge" />
      <meta http-equiv="content-type" content="text/html; charset=utf-8" />
      <!-- Enable responsiveness on mobile devices-->
      <meta name="viewport" content="width=device-width, initial-scale=1.0, maximum-scale=1" />
      <title>{{ site.title }}</title>
      <!-- CSS -->
      <link rel="stylesheet" href="{{ site.baseurl }}/assets/css/main.css" />
      <!-- Icons -->
      {% include favicons.html %}
      <!-- RSS -->
      <link rel="alternate" type="application/rss+xml" title="RSS" href="/feed.xml" />
      {% include custom-head.html %}
    </head>
    <body class="{{ page.layout }}{% if page.url == '/' %} home{% endif %}">

        <main class="container">
            <div class="content">
                <article class="post-body title-page">
                    <h1>{{site.title}}</h1>
                    <span class="site-version">v{{ site.version }}</span>
                    <p>
                        {{ site.description }}
                    </p>
                    <p>
                        <img src="logo.png" />
                    </p>
                </article>
            </div>
        </main>

        {% include history.html %}
        <main class="container">
            <div class="content">
                <article class="post-body">
                    <h1>목차</h1>

                    <ol>
                    {% for i in (1..100) %}
                        {% for post in site.posts %}
                        {% if post.pdf == i %}
                            <li><a href="#_page_{{forloop.index}}">{{ post.title }}</a></li>
                        {% endif %}
                        {% endfor %}
                    {% endfor %}
                    </ol>
                </article>
            </div>
        </main>

        {% for i in (1..100) %}
        {% for post in site.posts %}
        {% if post.pdf == i %}
        <main class="container">
            <div class="content">
                <article class="post-body">
                    <h1><a name="{{post.url}}"></a>{{ post.title }}</h1>
                    {{ post.content }}
                </article>
            </div>
        </main>
        {% endif %}
        {% endfor %}
        {% endfor %}
        </div>
    </body>
</html>
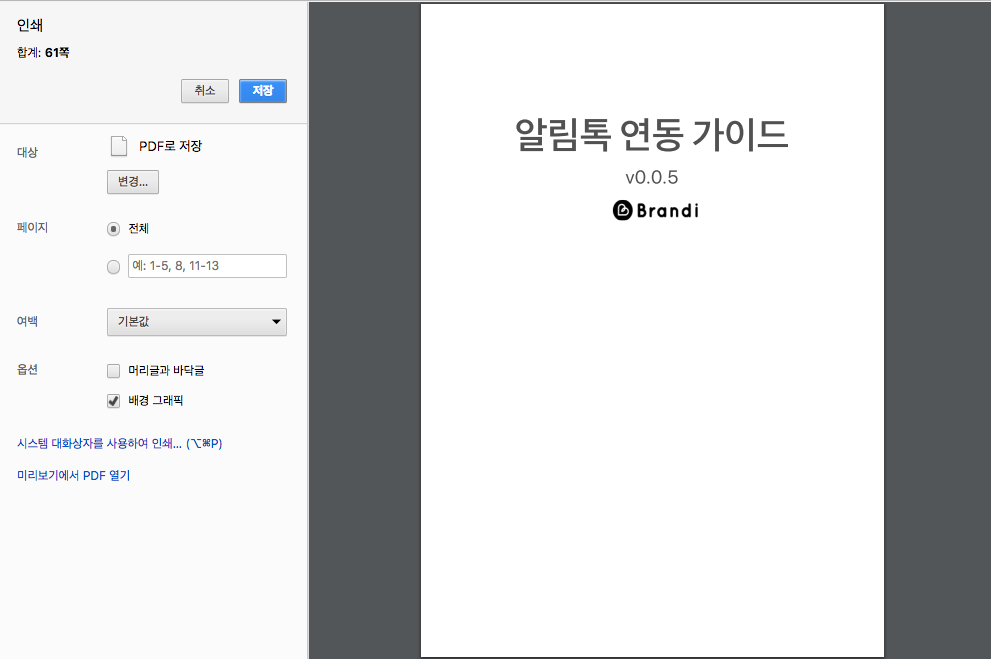
이제 크롬에서 /pdf 에 접속해 출력합시다.
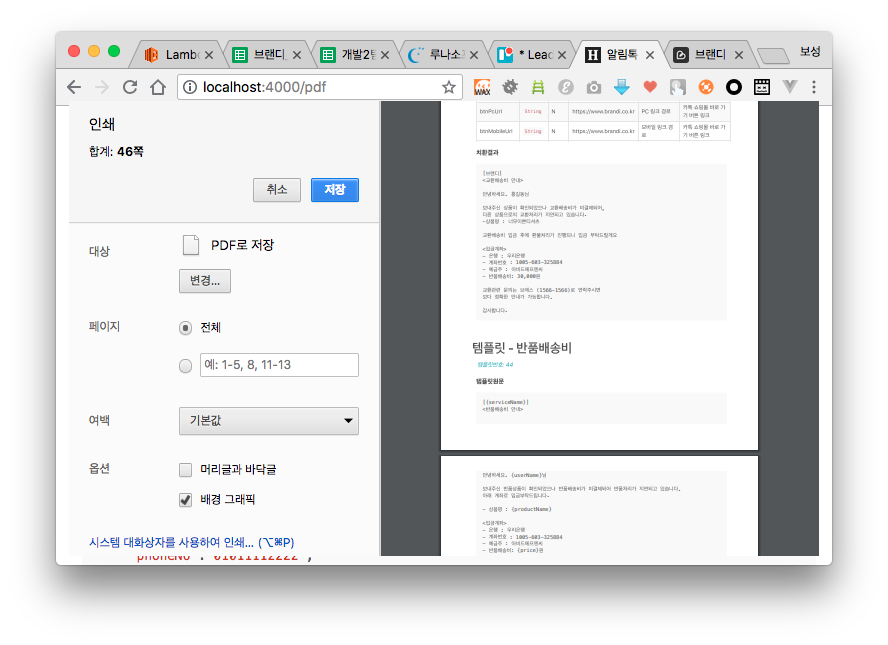
PDF 완성!
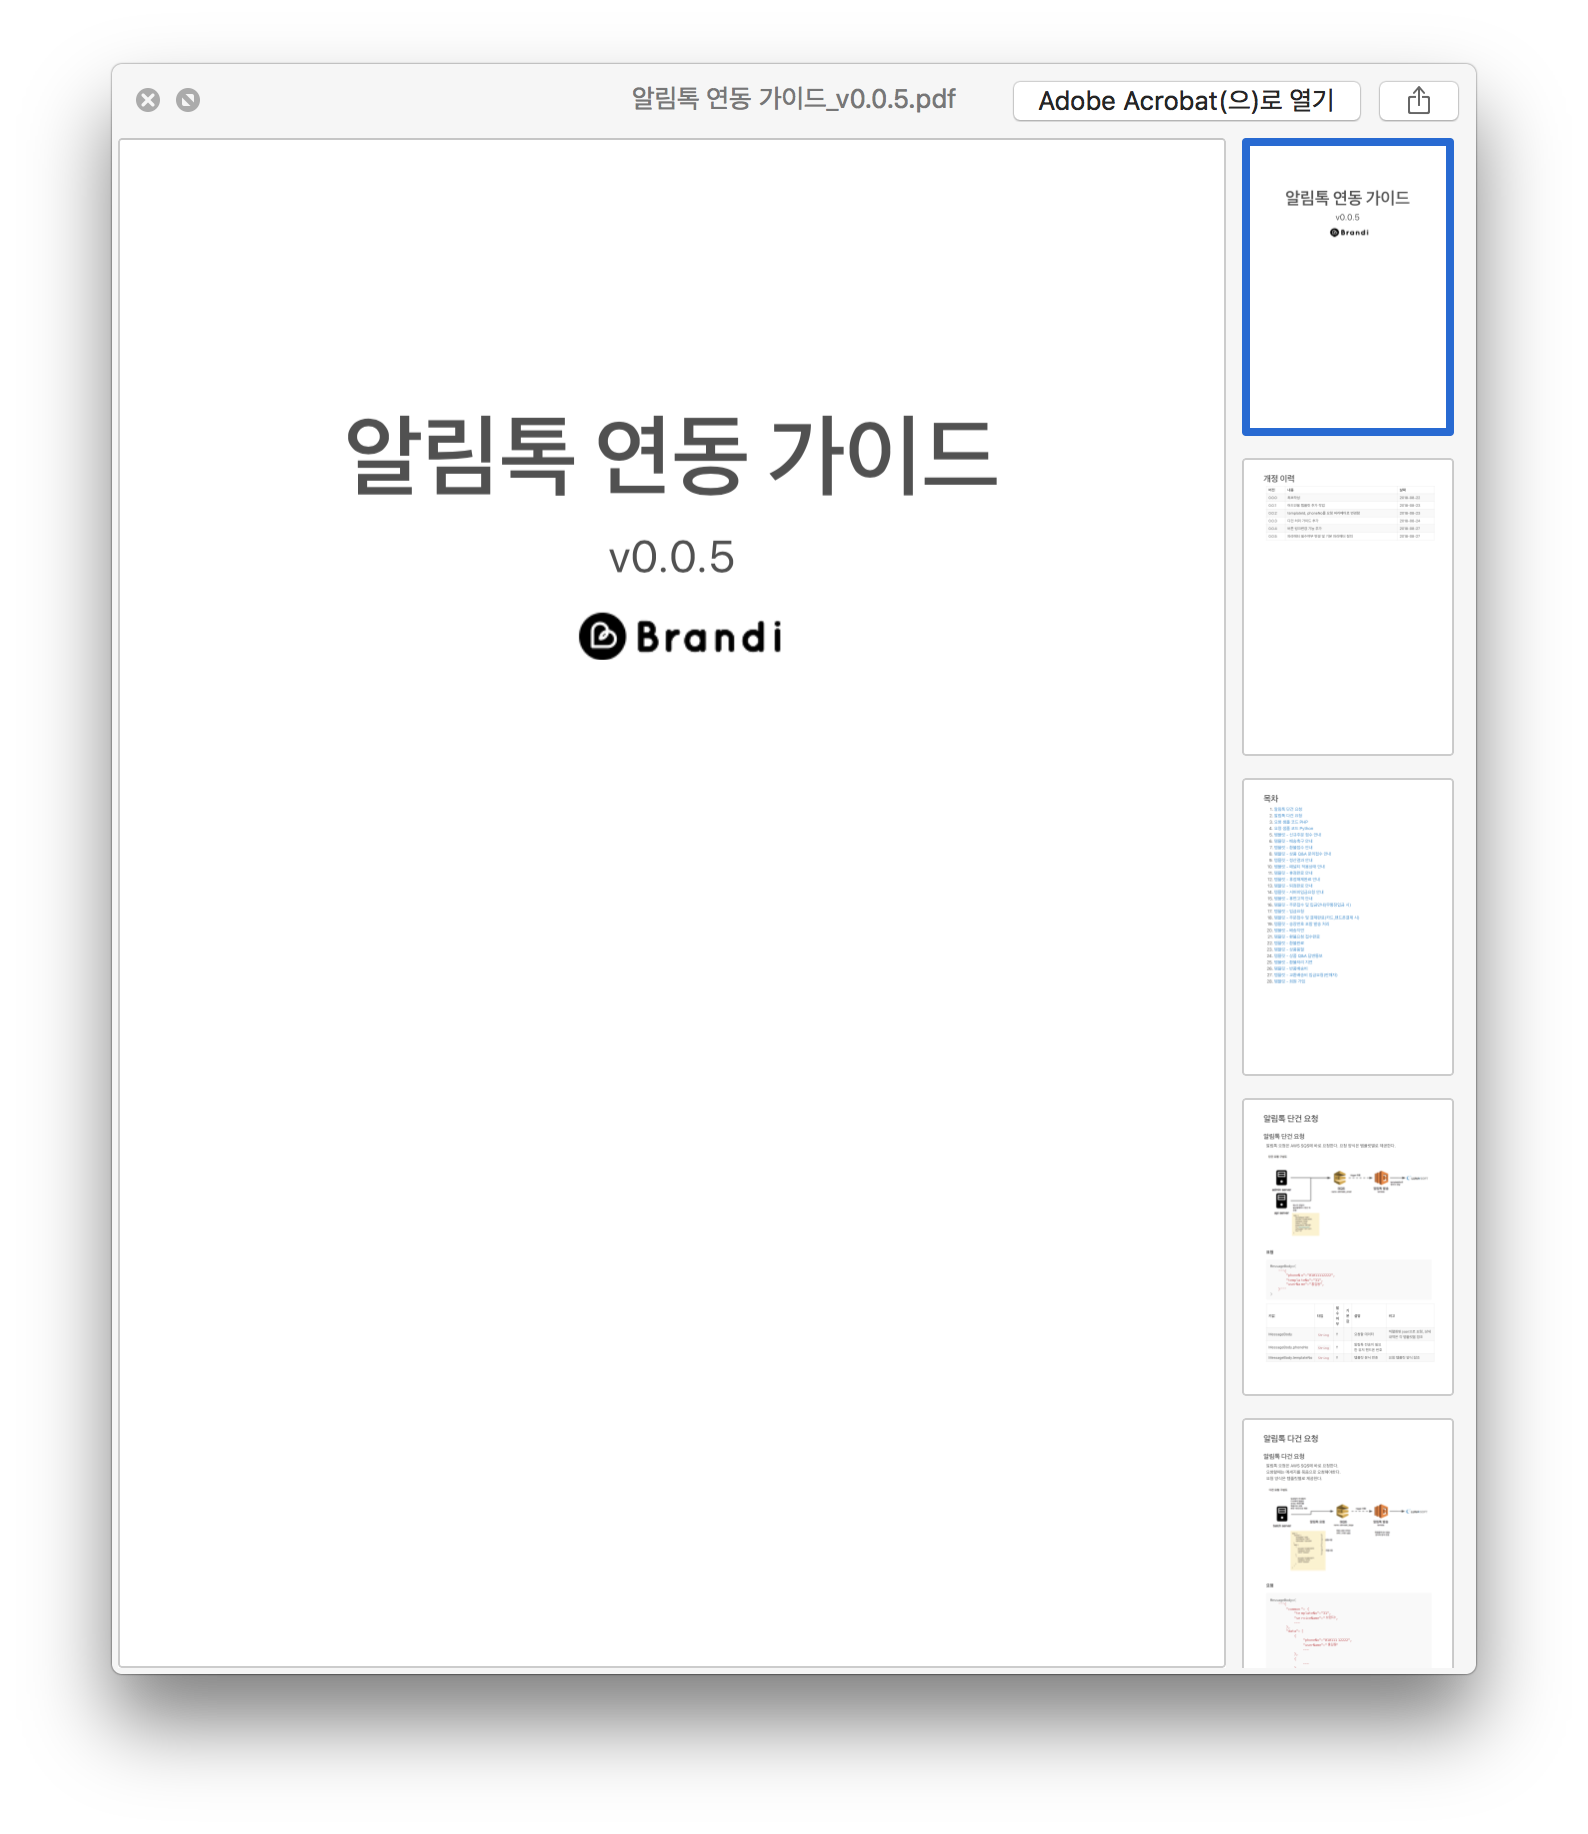
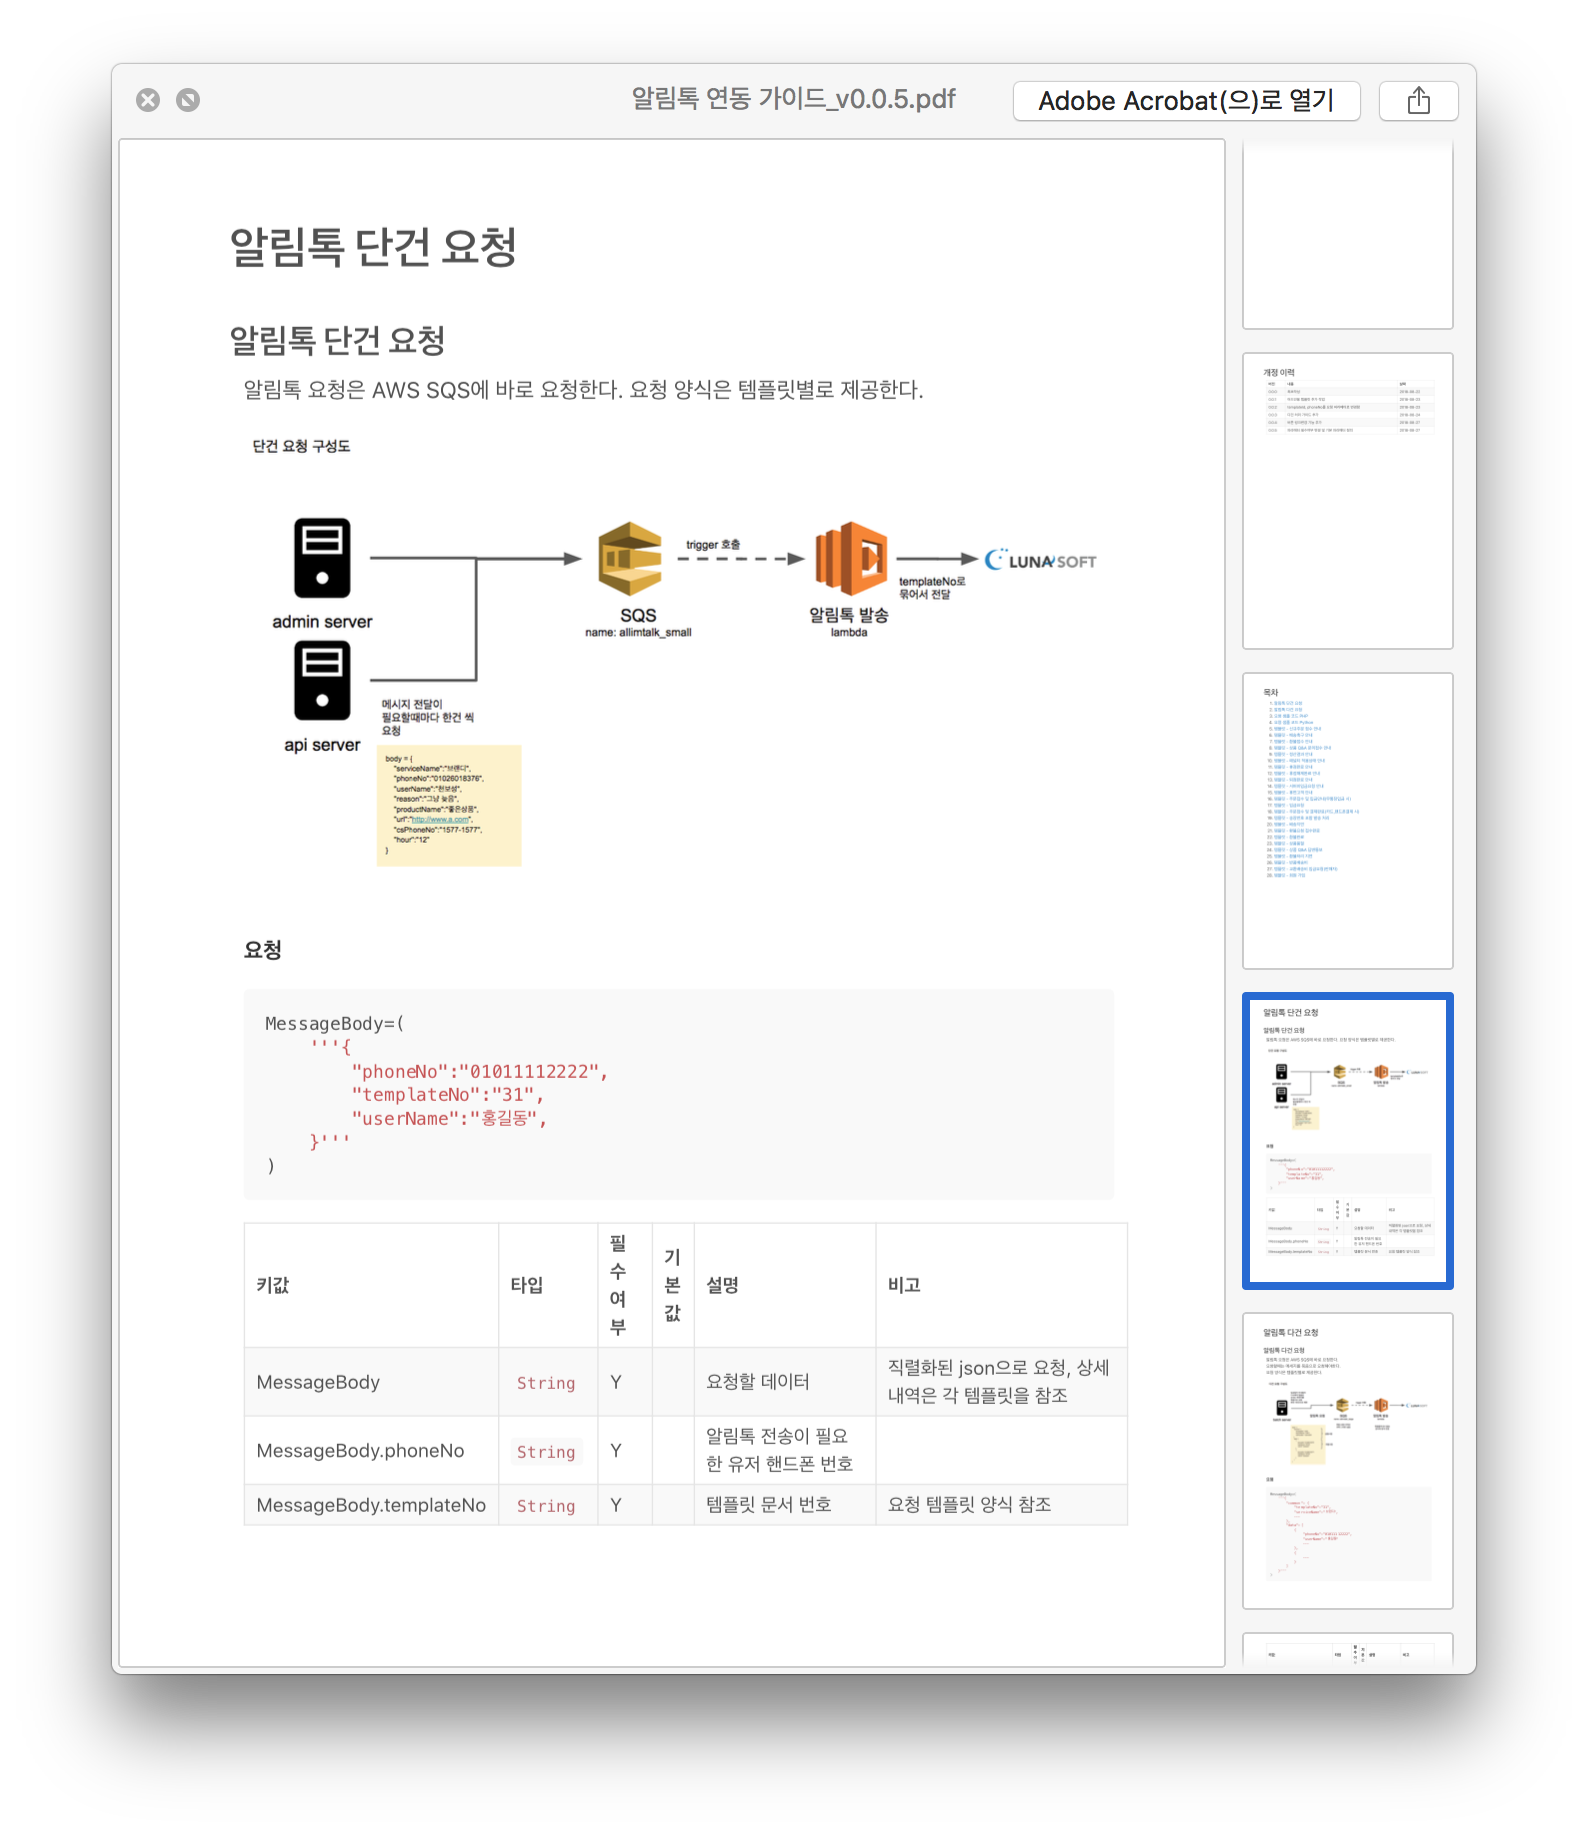
저장을 하니 훌륭한 PDF 문서가 완성되었습니다. 이제 jekyll로 문서를 관리하고 배포할때는 PDF로 하면 됩니다.
아래는 실제로 만들어진 문서의 일부를 캡쳐하여 공유합니다.
마치며
깔끔한 문서 만들기가 어렵다면 jekyll을 사용해보세요. 그리고 PDF로 출력하면, 팀에서 “문서를 잘 만드는 개발자”라고 불릴지도 모르겠네요. 저 역시 예제로 보여드린 문서를 만드는데 하루도 걸리지 않았습니다. 속는 셈 치고 한 번 시도해보세요. 분명 멋진 결과물이 나올 겁니다.
천보성 팀장 | 혁신팀
chunbs@brandi.co.kr